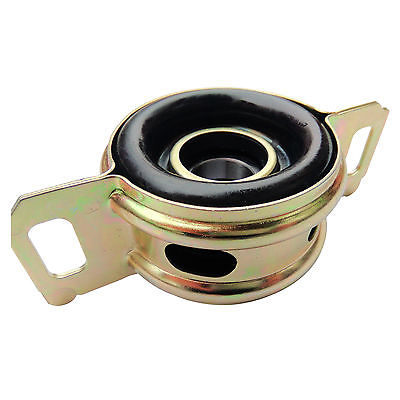
I can’t believe the lack of info on HiACE vans.
Here’s how I changed a tailshaft in case anyone else wanted to try it.
- Better to have a pit or hoist. Very hard to do lying under van.
- Mark with white-out or white paint a line along tailshaft/dif/gearbox so you can line everything up again later. Be very precise. It needs to be within about 5mm accurate when you line it all up again. Especially around the centre bearing.
- Undo 4 bolts that join rear uni joint to diff drive shaft. You may need to move car back and forward to make this easier. It won’t fall apart – prise 2 flanges apart with large screwdriver.
- Undo 2 centre bearing bolts. Support.
- As you drop tailshaft, remove shaft from gearbox.
- Put tail shaft in vice.
- Undo centre uni joint.
- Mark centre bearing thread with white-out or take a photo so you know which way it’s lined up. Undo centre bearing bolt. This is a huge bolt, done op tightly, and it has a chisel hit in it to stop it moving. There’s a washer that then comes off after bolt.
- My old bearing then just pulled off by hand.
- Put a little grease inside new bearing and sit new bearing on, but don’t hit it on. Be careful to line it up properly.
- Do up bolt and this will press bearing on.
- Do it up tight. Then hit with chisel in the right spot to fix it permanently.
- Put it all back together.
Tricks:
mark well, very well.
chisel hit bearing thread before re-assembly
easier as 2 man job to help lift tail shaft.
easier in pit or on hoist.
Total time approx 2 hours. This was the first time I’ve changed a tailshaft bearing.
